Hosted Server (Recommended)
The fastest way to get started — no installation required.Generate an API Key
Open the Omi app and navigate to Settings → Developer → MCP to generate your API key.Your key will look like:
omi_mcp_...This key is only for MCP clients. To call REST Developer API endpoints directly, create a separate
Developer API key from Settings → Developer → Create Key. Developer API keys look like
omi_dev_....Configure Your Client
Use the following connection details:
- Server URL:
https://api.omi.me/v1/mcp/sse - Authorization:
Bearer omi_mcp_...(your generated key) - Transport: Streamable HTTP (MCP 2025-03-26 spec)
Client Configuration
- Claude Desktop
- Cursor
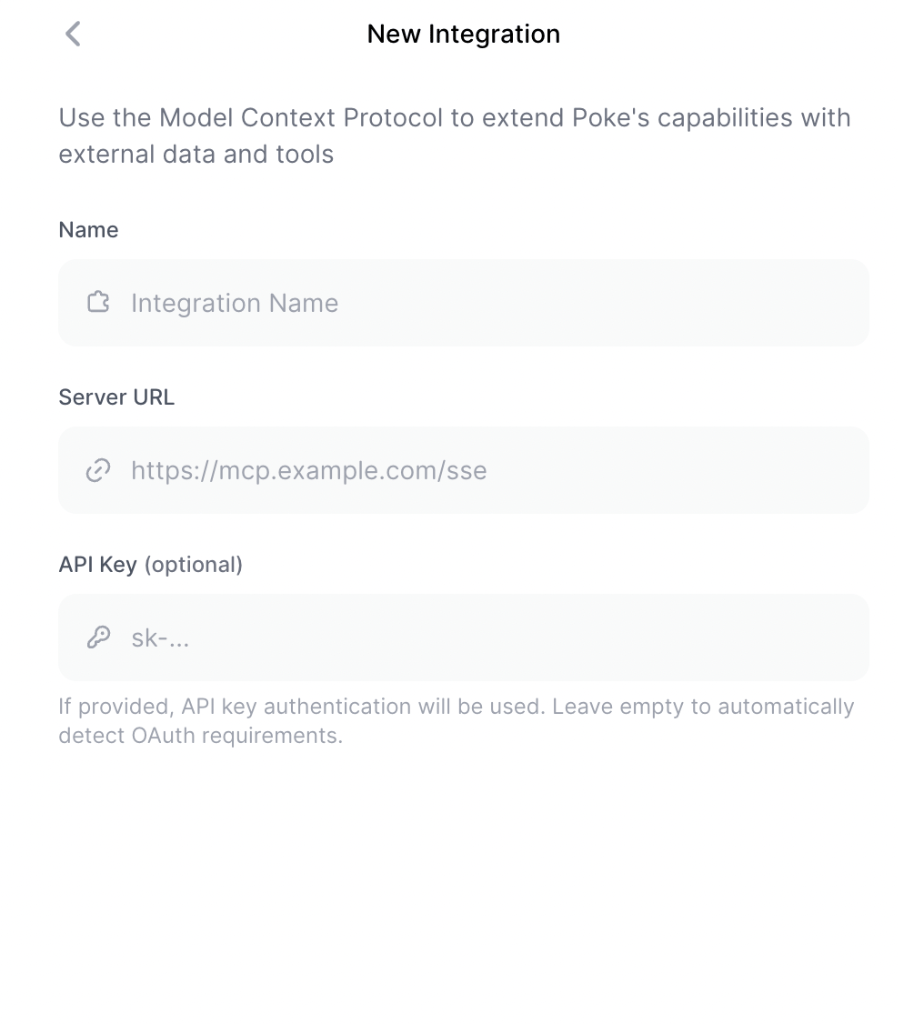
- Poke
- Custom Client
Add to your Config file location:
claude_desktop_config.json:- macOS:
~/Library/Application Support/Claude/claude_desktop_config.json - Windows PowerShell:
$env:APPDATA\Claude\claude_desktop_config.json - Windows cmd:
%APPDATA%\Claude\claude_desktop_config.json
Docker (Self-Hosted)
If you prefer to run the MCP server locally:Generate an API Key
Open the Omi app → Settings → Developer → MCP to generate your key.
Install Docker
Install Docker. We recommend OrbStack for macOS.
Configure Claude Desktop
Add to your
claude_desktop_config.json:Custom Backend URL
If you are self-hosting the Omi backend:Only needed for self-hosted Omi instances. The default URL points to the official Omi API.